从零开始的 Vuepress2.X (二)
(二)使用社区主题美化Vuepress
目录
前言
前面我们已经实现了博客的基本功能
不过如果想要博客更丰富一点,我们就要加入主题和插件
1、加入主题
我使用的主题是 vuepress-theme-reco,一款简洁的 vuepress 博客 & 文档 主题。
1.1 安装主题
yarn add vuepress@next vuepress-theme-reco@next
npm install vuepress@next vuepress-theme-reco@next --save-dev
1.2 引入主题
主题增加了许多丰富的元素
Vuepress原有的配置除了把 左侧边栏(sideBar) 被更改为 系列(series)外,其他的配置都没有变化
在.vuepress/config.ts 下引入主题
import { recoTheme } from 'vuepress-theme-reco'


export default {
  theme: recoTheme({
    logo: '', // 导航栏头像
    author: "Toby", // 博客主人的名字
    authorAvatar: "", // 博客主人的头像
    primaryColor: '#3aa675', // 自定义主题的基础色
    navbar: [], // head 标签
    series: [], // 侧边栏
    catalogTitle: '自定义文档目录标题',
    algolia: {}, // 搜索功能
    bulletin: {} // 公告
    valineConfig: {}, // 评论
    ...
  })
}
更多配置可参考 vuepress-reco主题配置
1.3 效果
1.4 其他
除了 vuepress-theme-reco 这个主题,还有 vuepress-theme-hope 也是个不错的主题。除此之外还有其他的一些主题,或者也可以通过自定义开发自己的主题,有兴趣的小伙伴可以自己去研究一下。
2、使用插件
TIP
VuePress 插件可以为你提供各种不同的功能。
社区用户创建了很多插件,并将它们发布到了 NPM 上。
VuePress 团队也在 @vuepress Scope 下维护了一些官方插件。
或者也可以自定义开发自己的插件
插件有两种
2.1 插件的引入方法(一)
可以导入插件并通过配置文件的 plugins 配置项来使用它。
// .vuepress/config.ts
import { googleAnalyticsPlugin } from '@vuepress/plugin-google-analytics'

export default {
  plugins: [
    googleAnalyticsPlugin({
      id: 'G-XXXXXXXXXX'
    }),
  ],
}
2.2 插件的引入方法(二)
配置客户端文件client.{js,ts}
在.vuepress中新建 client 文件
├─ .vuepress
│  └─ client.js  <--- 客户端配置文件
│  └─ config.js  <--- 配置文件
│
// .vuepress/client.js
import { defineClientConfig } from '@vuepress/client'

export default defineClientConfig({
  // 挂载Vue实例
  enhance({ app, router, siteData }){},
  // 根组件的 setup
  setup(){},
  // 全局的 UI 组件数组
  rootComponents: [],
})
2.3 实例
在 .vuepress/components 下有个名为 Demo.vue 的组件
├─ .vuepress
│  └─ components  <--- 用于存放 vue 组件
│     └─ Demo.vue
│
WARNING
因为在该目录下的文件不会被自动注册为 Vue 组件。
所以如果我想在 Markdown 里面引入 Demo 组件
- (1) 可以在 plugins 引入:
// .vuepress/config.ts
import { registerComponentsPlugin } from '@vuepress/plugin-register-components' // 导入组件库
import { getDirname,path } from '@vuepress/utils'
const __dirname = getDirname(import.meta.url)

export default {
  plugins: [
    registerComponentsPlugin({ // 配置项
      // 挂载 .vuepress/components 下所有vue组件
      componentsDir: path.resolve(__dirname, './components'),
    }),
  ],
}
- (2) 可以在 client 中配置
// .vuepress/config.ts
import { defineClientConfig  } from '@vuepress/client'// 导入组件库
import { onMounted } from 'vue'
import Demo from './components/Demo.vue'

export default defineClientConfig({
  // 挂载Vue实例
  enhance({ app, router, siteData }){
    // 注册 Demo 实例
    app.component('Demo', Demo)
  },
  // 根组件的 setup
  setup(){
    onMounted(() => {
      addEventListener('click', e => {
        console.log('点击事件');
      })
    })
  },
  // 全局的 UI 组件数组
  rootComponents: [
    // 挂载 Demo 全局组件
    // Demo
  ],
})
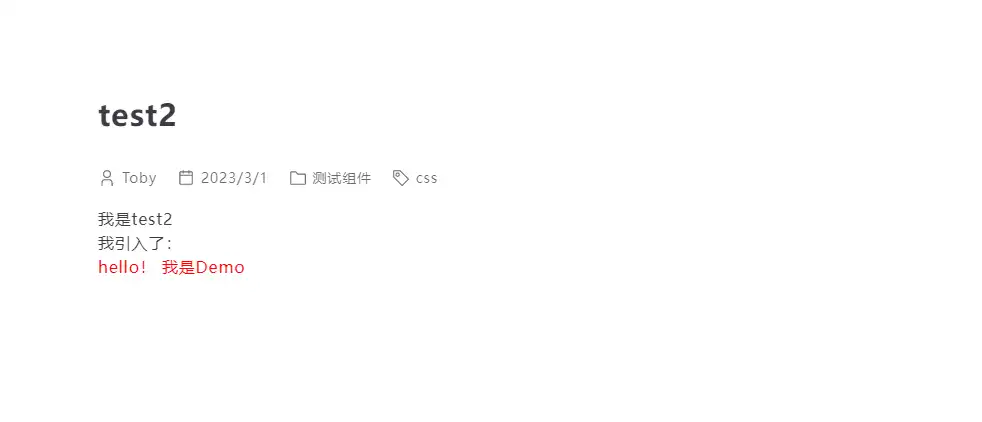
在 docs/test2 中使用 Demo 组件
---
title: test2
date: 2023/3/1
tags:
  - css
categories:
  - 测试组件
---

<div>我是test2</div>
我引入了:
<Demo></Demo>
看看效果: