丝滑的图片滑动对比器
这个图片滑动对比器可以让你轻松比较同一张图片的不同版本,更直观地展示改变前后的差异。
案例分析
我们要实现一个图片滑动对比工具,可以将同一张图片的两个版本进行对比,通过滑动条来快速切换图片版本。
具体的方案就是将两张图片叠加在一起,然后通过拖动滑动横条(bar)来改变底部图片(originImg)的高度,从而展示两张图片的差异。
具体实现
1、template部分
在模板中,首先定义了一个容器 div,其中包含三个子元素:底图、需要改变高度的原图以及滑动横条。
<template>
  <div
    class="container"
    :style="{width:width}"
    ref="container"
  >
    <div
      id="root"
      :style="{ cursor: isResizing ? 'ns-resize' : 'unset' }"
      @mousemove="onMouseMove"
      @mouseup="onMouseUp"
      @mouseleave="onMouseUp"
    >
      <!-- 底图 不用动高 -->
      <el-image
        class="changed-img"
        :src="changedImg"
      />

      <!-- 顶部图片 -->
      <div id="clip" :style="{ clip: clip }">
        <el-image
          class="origin-img"
          :src="originImg"
        />
      </div>

      <!-- 滑动横条 -->
      <div
        id="bar"
        :style="{ transform: `translate3d(0px, ${barY}px, 0px)` }"
        @mousedown="onMouseDown"
      >
        <div class="bar-line">
          <div class="handle-root">
            <div class="handle-line"></div>
            <div class="handle-button pointer">
              <div></div>
              <div></div>
            </div>
            <div class="handle-line"></div>
          </div>
        </div>
      </div>
    </div>
  </div>
</template>
2、script部分
<style lang="scss" scoped>
#root {
  width: 100%;
  height: auto;
  position: relative;
  overflow: hidden;
  user-select: none;
  margin: 100px auto;
}

#root .changed-img {
  display: block;
  width: 100%;
  height: auto;
  max-width: 100%;
  box-sizing: border-box;
  object-fit: cover;
  object-position: center center;
}

#root #clip {
  position: absolute;
  top: 0px;
  left: 0px;
  width: 100%;
  height: auto;
  will-change: clip;
  user-select: none;
  clip: rect(auto, auto, 206px, auto);
}

#root #clip .origin-img {
  display: block;
  width: 100%;
  height: auto;
  max-width: 100%;
  box-sizing: border-box;
  object-fit: cover;
  object-position: center center;
}

#bar {
  position: absolute;
  top: 0px;
  width: 100%;
  height: auto ;
  pointer-events: none;
  transform: translate3d(0px, 206px, 0px);
}
#bar .bar-line {
  position: absolute;
  width: 100%;
  transform: translateY(-50%);
  pointer-events: all;
  height: 56px;
}
.bar-line .handle-root {
  display: flex;
  flex-direction: row;
  place-items: center;
  height: 100%;
  cursor: ns-resize;
  pointer-events: none;
  color: rgb(255, 255, 255);
}
.bar-line .handle-line {
  flex-grow: 1;
  height: 2px;
  width: 100%;
  background-color: currentcolor;
  pointer-events: auto;
  box-shadow: rgba(0, 0, 0, 0.35) 0px 0px 7px;
}
.bar-line .handle-button {
  display: grid;
  grid-auto-flow: column;
  gap: 8px;
  place-content: center;
  flex-shrink: 0;
  width: 56px;
  height: 56px;
  border-radius: 50%;
  border-style: solid;
  border-width: 2px;
  pointer-events: auto;
  backdrop-filter: blur(7px);
  box-shadow: rgba(0, 0, 0, 0.35) 0px 0px 7px;
  transform: rotate(90deg);
}
.bar-line .handle-button div {
  width: 0px;
  height: 0px;
  border-top: 8px solid transparent;
  border-right: 10px solid;
  border-bottom: 8px solid transparent;
}
.bar-line .handle-button div:nth-child(2) {
  transform: rotate(180deg);
}
</style>
3、js部分
在 script 标签中,通过 Vue 3 的 defineProps 定义了组件的属性,包括容器宽度、底图地址和需要改变高度的原图地址。
<script lang='ts' setup>
import { ref, computed } from "vue";

defineProps({
  width:{
    type:String,
    default: "100%",
  },
  changedImg:{
    type:String,
    required:true,
  },
  originImg:{
    type:String,
    required:true,
  }
})
</script>
使用 ref 和 computed 创建了一些响应式变量。isResizing 表示当前是否正在调整滑块,allow 表示是否允许滑块移动,barY 表示当前滑块的 Y 轴位置,container 是容器的引用,clip 计算属性表示原图需要显示的部分。
const isResizing = ref(false);
const allow = ref(false);
const barY = ref(0);
const container = ref(null)
const clip = computed(()=>{
  return `rect(auto, auto, ${barY.value}px, auto)`
})
onMouseDown 方法会在鼠标按下时被调用,设置 allow 和 isResizing 为 true,并调用 move 方法来移动滑块。
onMouseMove 方法会在鼠标移动时被调用,如果 allow 为 true,调用 move 方法来移动滑块。
onMouseUp 方法会在鼠标抬起或者触摸结束时被调用,调用 stop 方法停止移动滑块,并将 isResizing 设置为 false。
move 方法会根据传入的 clientY 计算出当前滑块的位置,并将其设置给 barY。
stop 方法用于停止移动滑块,将 allow 设置为 false。
const onMouseDown = (e) => {
  allow.value = true;
  isResizing.value = true;
  move(e.clientY);
};

const onMouseMove = (e) => {
  if (allow.value) {
    move(e.clientY);
  }
};

const onMouseUp = () => {
  stop();
  isResizing.value = false;
};

const move = (clientY) => {
  let top =  container?.value?.getBoundingClientRect().top || 0
  barY.value = clientY - top;
};

const stop = () => {
  allow.value = false;
};
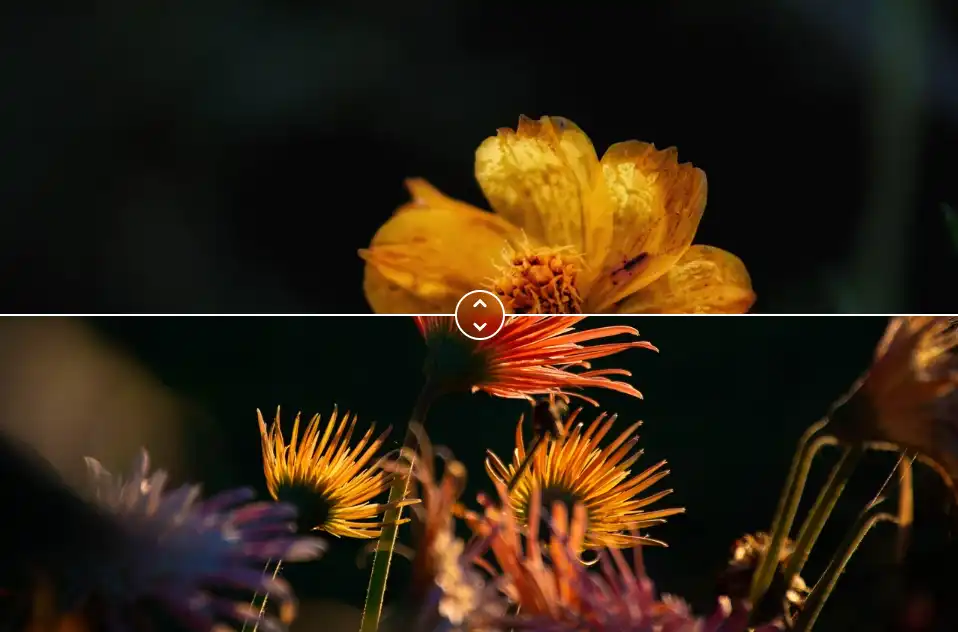
4、查看效果
总体而言,这段代码实现了一个基本的图片滑动对比功能,通过计算 Y 轴位置来控制在原图上显示的部分,从而达到对比效果。